Integration of New Payment Gateway
To integrate a payment gateway in PickBazar-Laravel, you will need to follow these general steps:
Getting Started with API
Step 1: Install and configure the payment gateway package
First, you will need to install the payment gateway package for Laravel (if there are any available package). There are several packages available that provide integration with various payment gateways. Example is given in the screenshot.
Once you have chosen and installed a package, you will need to configure it by adding your payment gateway credentials and any other required settings.
To check the installed dependencies of payment gateway in PickBazar-Laravel, you can open the composer.json file in a text editor and find that.

Step 2: Add payment gateway name in the Enum.
Add PaymentGateway Enum API -> package -> marvel -> src -> Enums -> PaymentGatewayType.php
Step 3: Configure the Payment Facade for the new payment gateway.
Now go to API -> package -> marvel -> src -> Payment then create new payment Class (e.g. Stripe, PayPal, Razorpay, Mollie) for implements the PaymentInterface.The Class must implements all of the methods defined in the PaymentInterface.
Methods defined in the PaymentInterface
Here's an example of a class that implements that PaymentInterface:
Note : It is important to note that each payment gateway has its own set of requirements and may have different methods for processing payments. You will need to follow the official documentation of that specific payment gateway.
Step 4: Using that payment gateway for submitting the order.
Go to API -> package -> marvel -> src -> Http -> Controllers -> OrderController.php -> submitPayment then you've to add your PaymentGatewayType and function name in switch case.

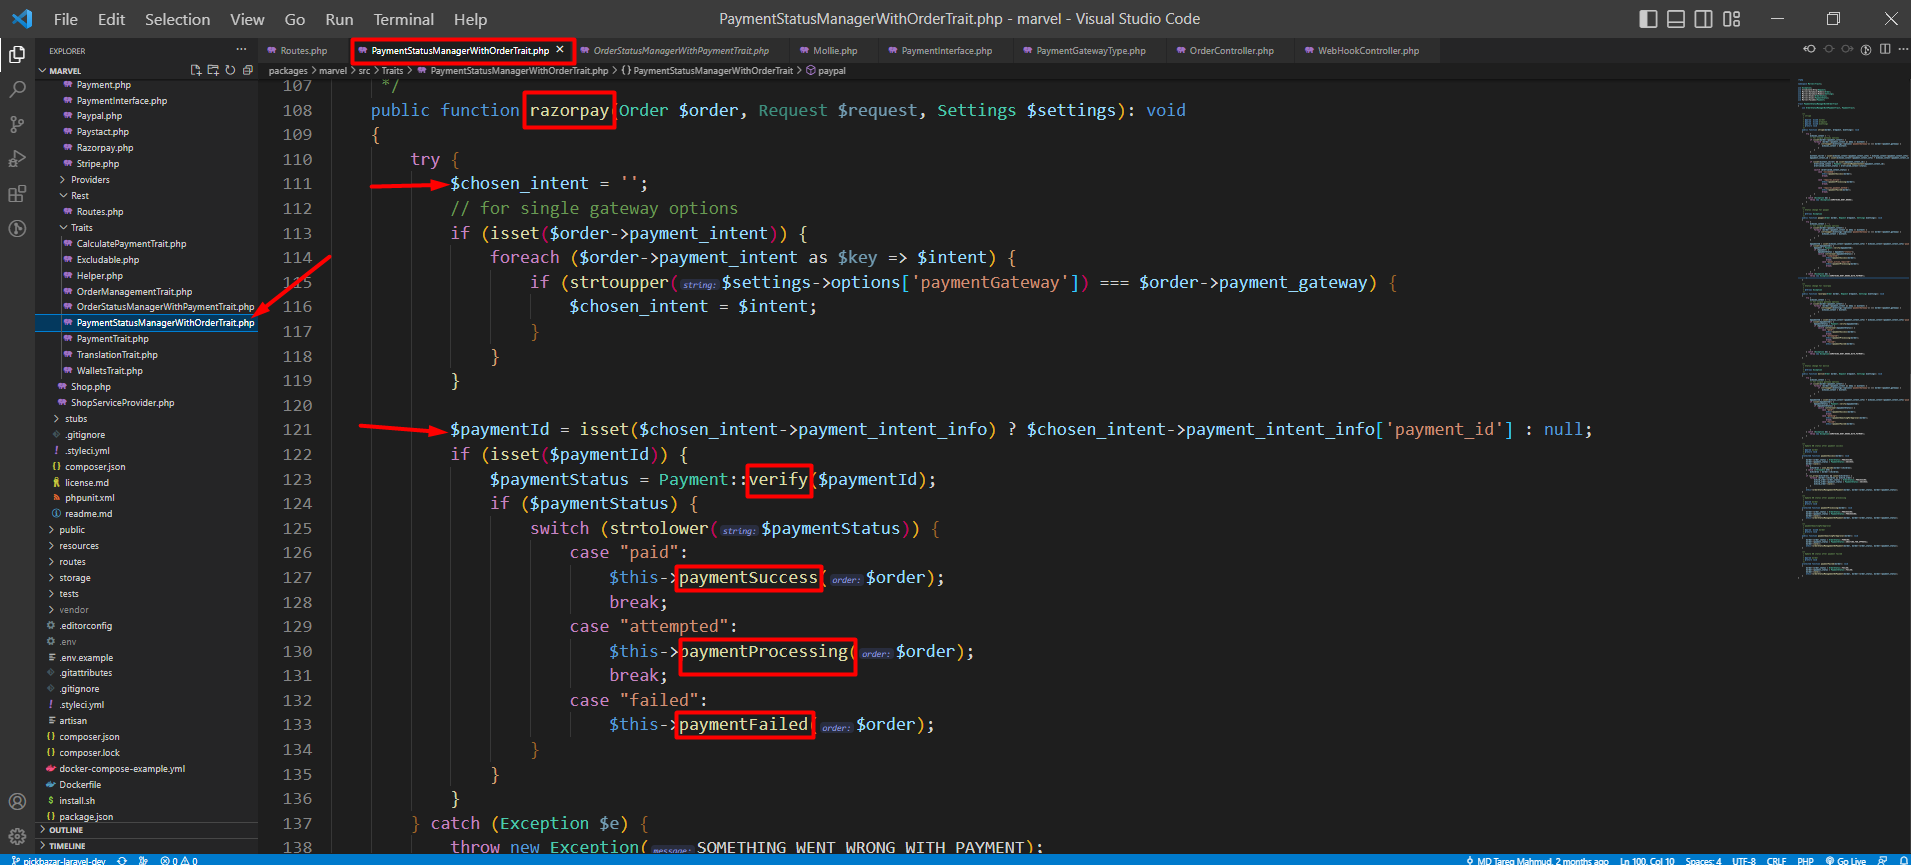
After That go to API -> package -> marvel -> src -> Traits -> PaymentStatusManagerWithOrderTrait.php for verify your payment status update, you've to add function like Stripe, PayPal, Razorpay or Mollie.
Step 5: How to Setup webhook in pickbazar-laravel follow the steps
To use a payment gateway webhook, you would first configure the webhook URL in your payment gateway account. Then, whenever the specified events occur, the payment gateway will send an HTTP POST request to the webhook URL with a payload of data about the event.
First go to API -> package -> marvel -> src -> Routes then add a post route.

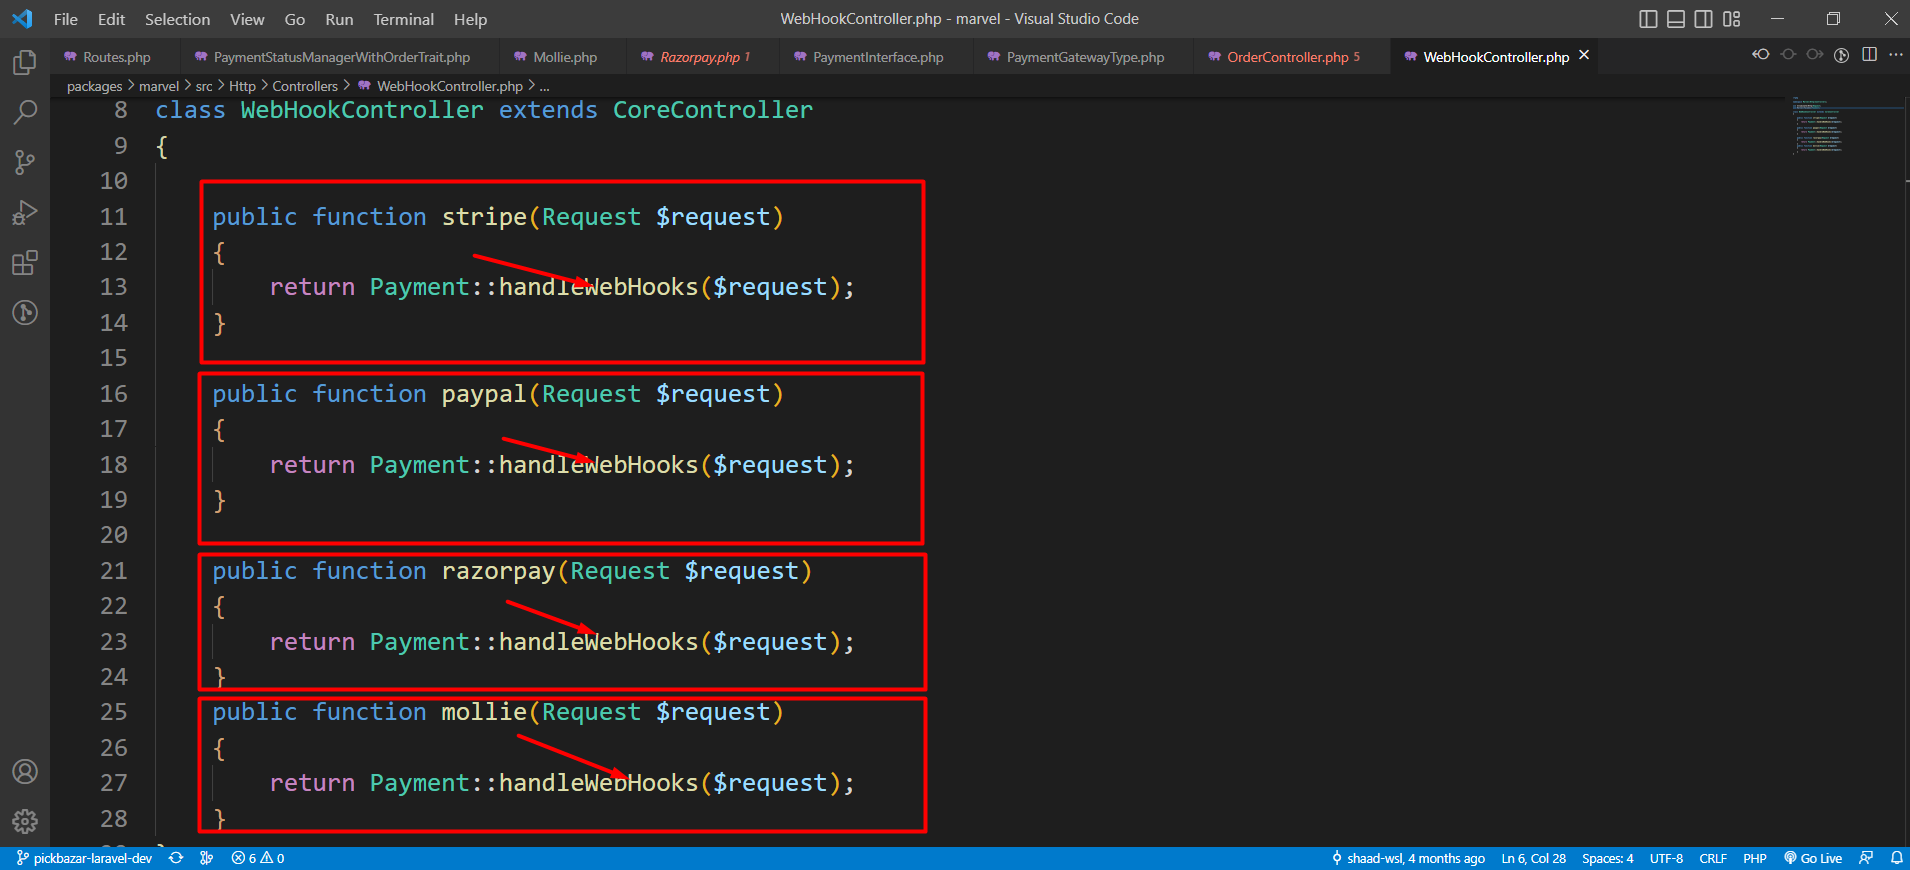
Add your function in WebHookController
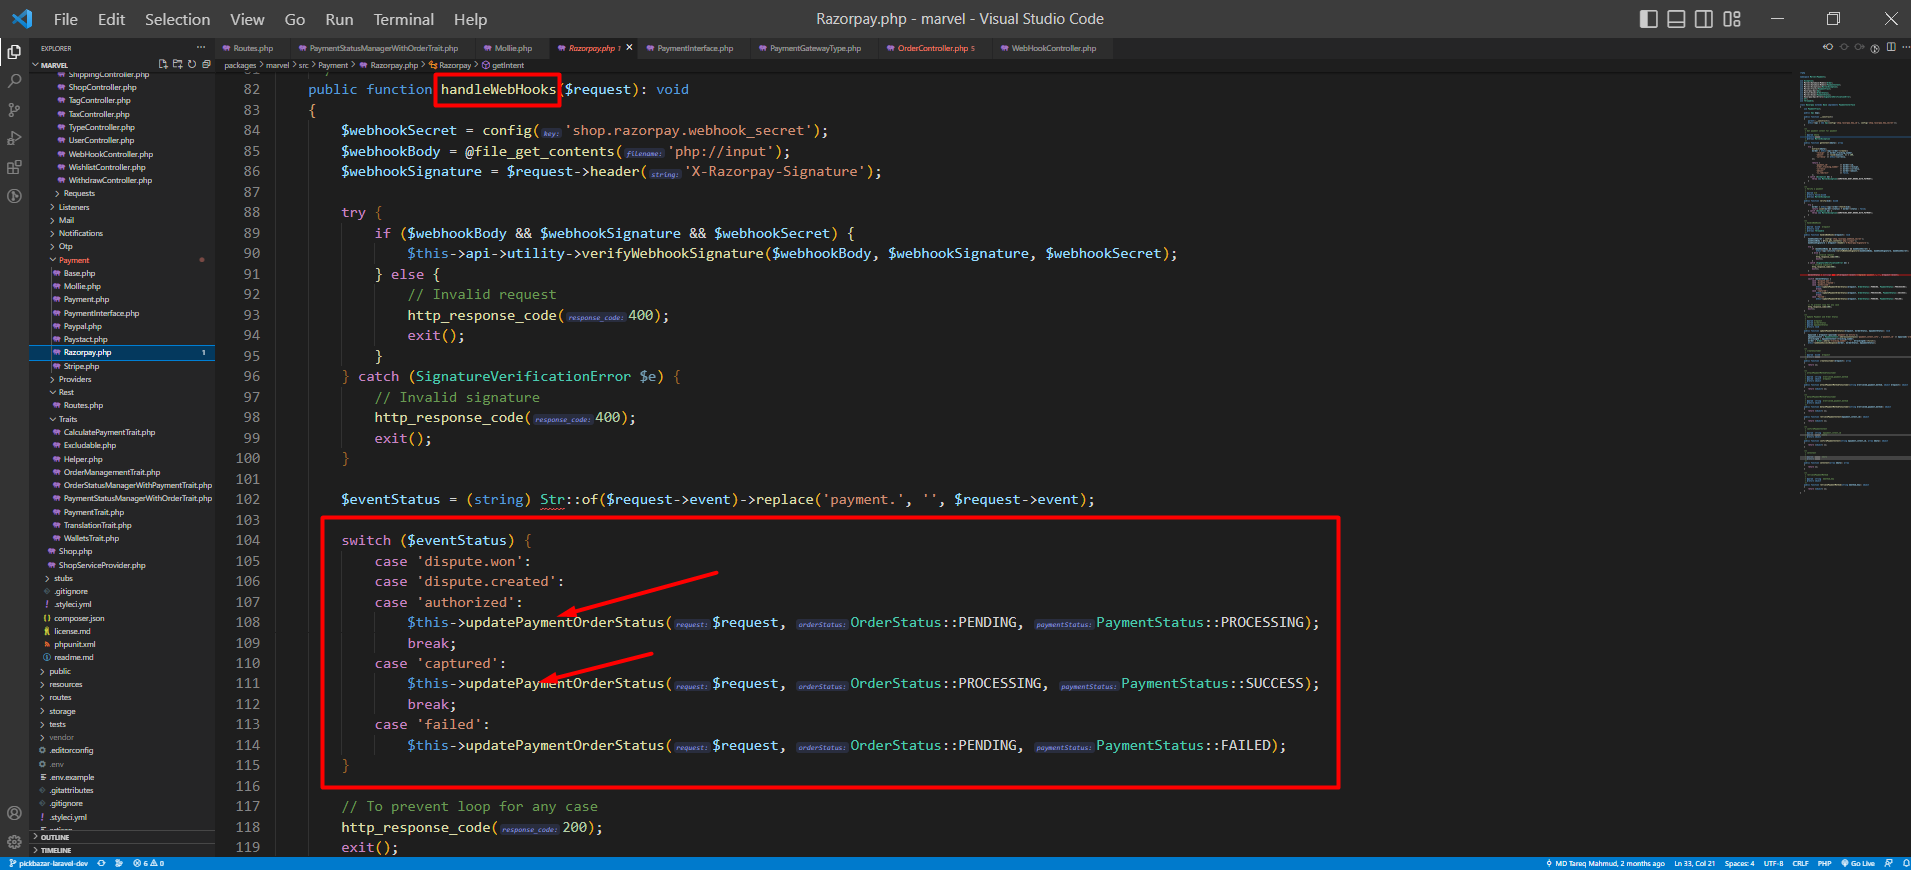
To handle webhook events follow your payment gateway offical webhook documentation
Note : For locally webhook testing you can use ngrok tools for that. Please follow their official documentation.
Getting Started with admin dashboard.
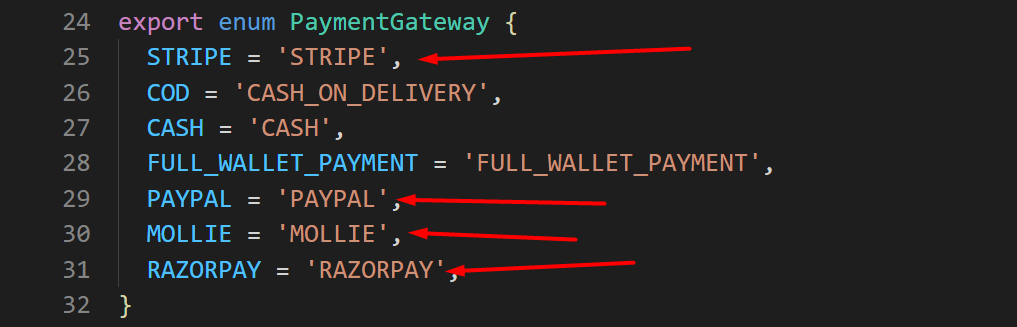
First go to marvel-admin -> rest -> types -> index.ts -> export enum PaymentGateway then add PaymentGateway Name.
after that go to marvel-admin -> rest -> src ->components -> setings -> payment.ts add name & Title.
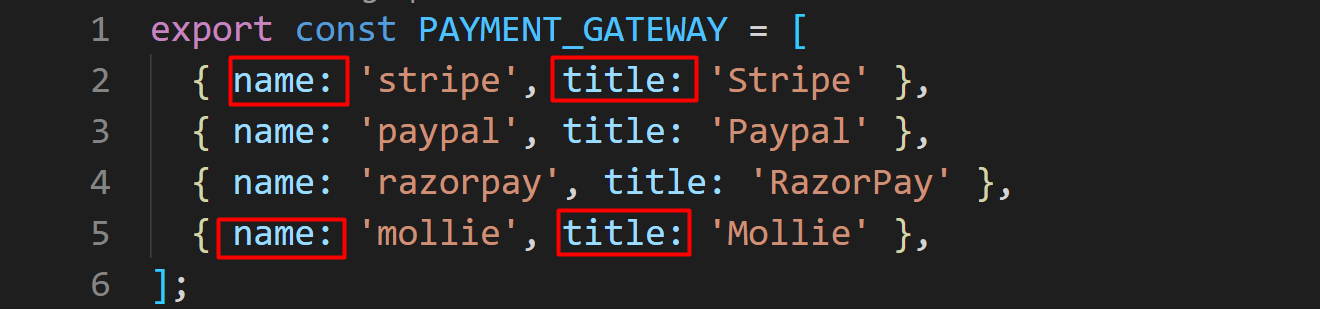
Then it will automatically add that payment gateway in the marvel-admin settings.
Getting Started with shop front.
There are two types of payment gateway system can be integrated here.
Redirect based payment gateway (e.g PayPal). Where the customer will redirect to that payment gateway site during order checkout. Complete the payment there. And then comeback to the application.
Non redirect based payment gateway. Where the customer will stay on the application and complete the whole payment process here. Here we consider Stripe as a non-redirect based payment gateway. Though Stripe has features too similar to redirect based payment gateway.
Redirect-base Payment Gateway
if you want to integrate redirect based payment gateway (e.g. PayPal, Mollie). follow the steps
First go to shop -> src -> types -> index.ts -> export enum PaymentGateway then add PaymentGateway Name.
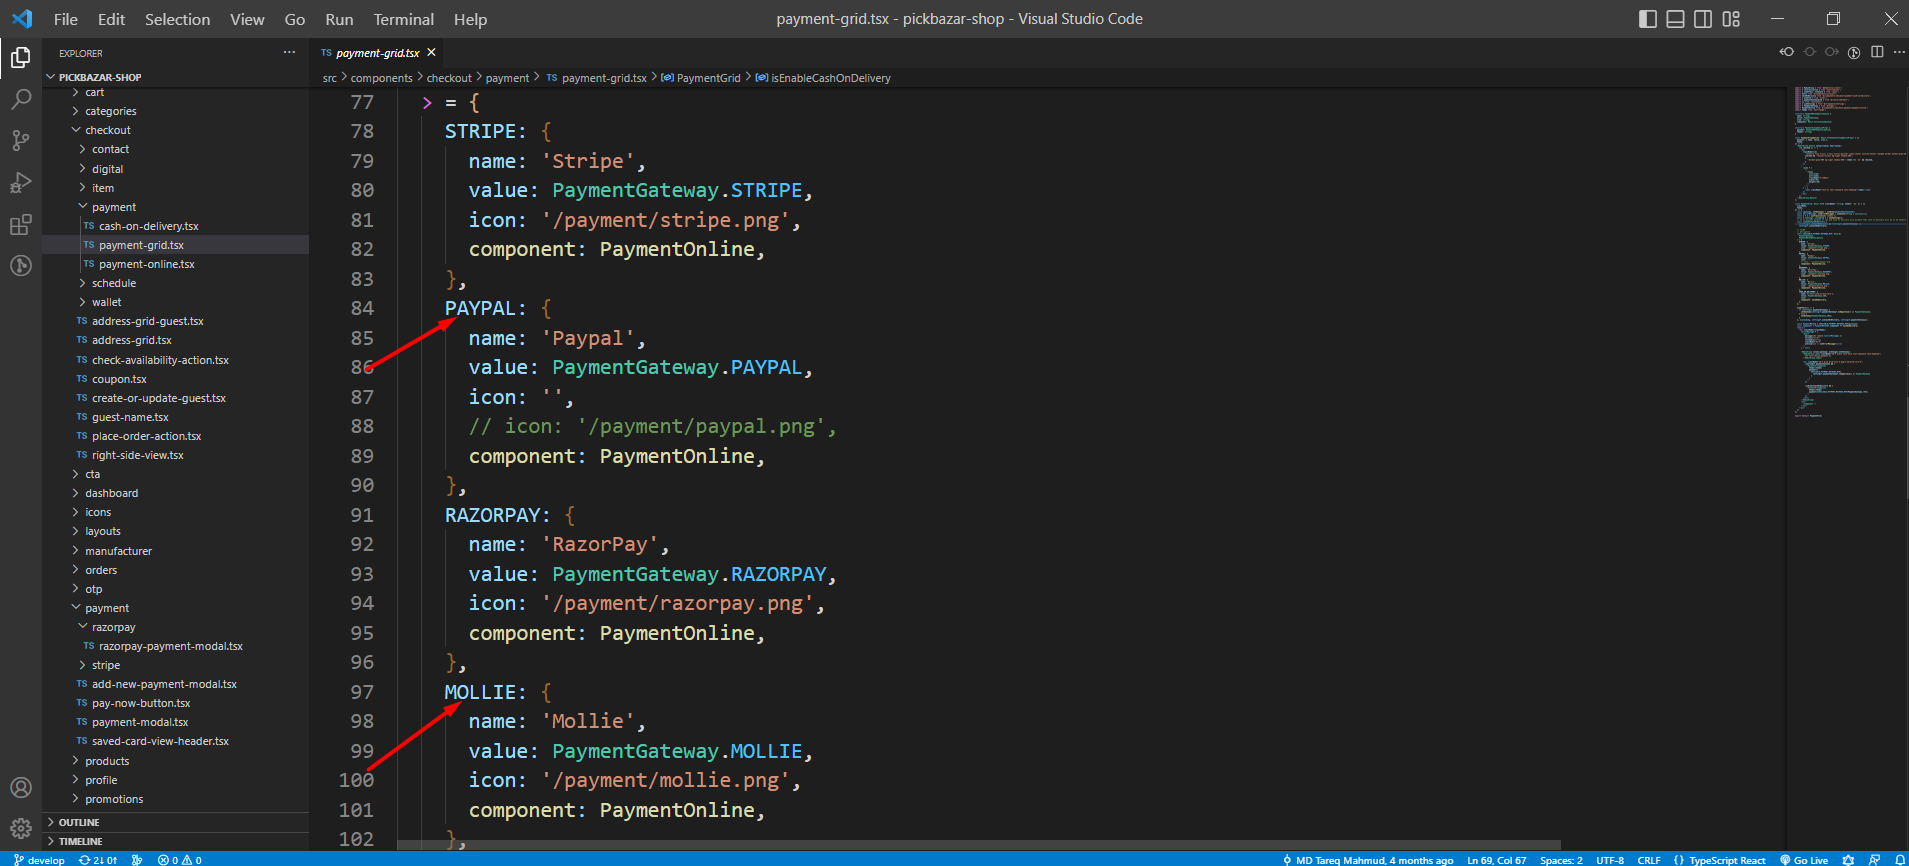
after that go to shop -> src -> components -> checkout -> payment -> Payment-grid.tsx then add your PaymentGateway object.
Non-redirect based payment gateway
First, complete the redirect-based payment gateway steps mentioned above. Because that two steps is universal for all payment gateway to apply.
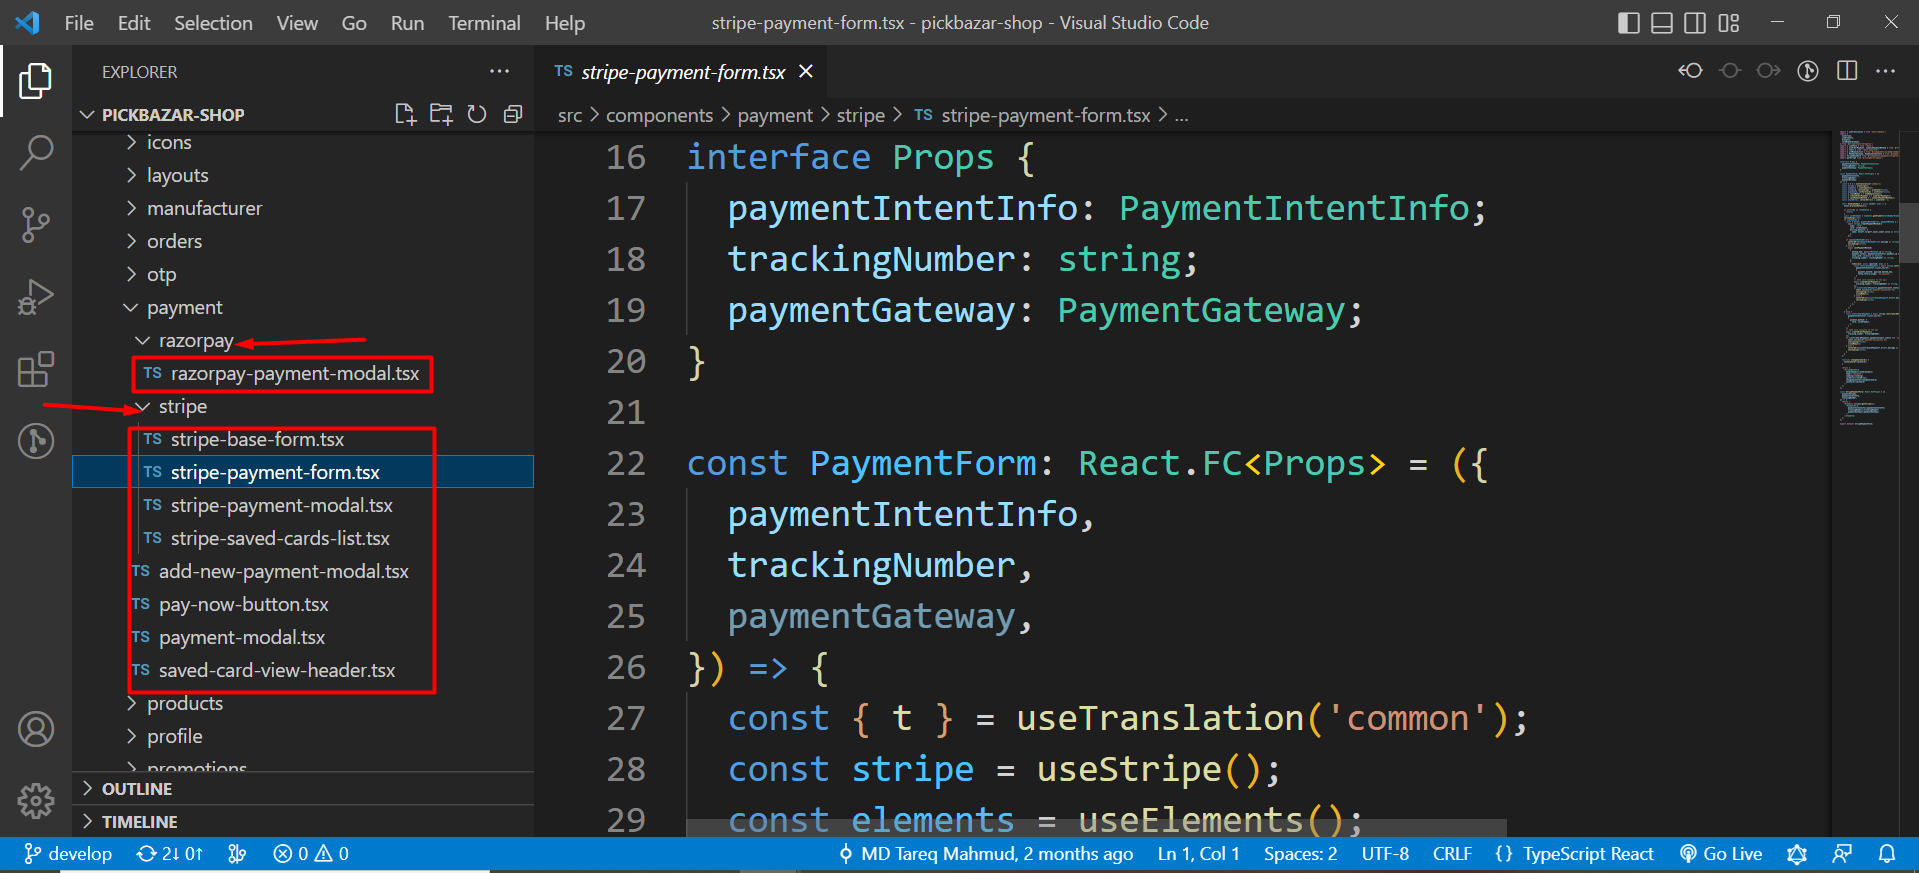
After That go to shop -> src -> components -> payment then add a folder like Stripe, Razorpay. Inside your payment folder you can create your required typescript files with related functionalities for your Payment Gateway. For example, you can checkout the Stripe folder. You can find all the necessary indication, components guide, payment-method (card) saving options etc in the Stripe folder.
That's all for today. If you need any more help you can always contact with our support agents in our support portal.